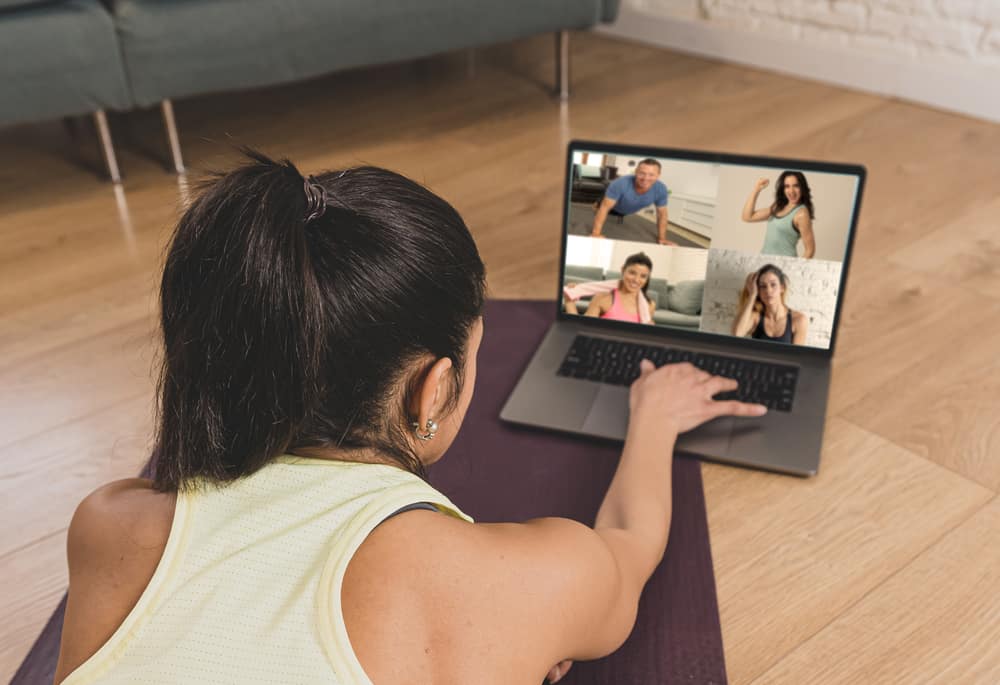
You can record your virtual yoga sessions and upload them on your website so potential clients can see what you offer and participate in the practice without your active participation. So how do you do a Zoom yoga class? This post discusses how to do a Zoom yoga class.
Overview of Doing Zoom Yoga Classes
Zoom is a widely-used video conferencing platform within professional settings for its simplicity and straightforward user interface. Online yoga classes are a thing now and have offered both students and yoga teachers various benefits. As a teacher, you get access to a vast pool of students because anyone can join your classes provided they have a compatible device and stable internet connection. You can also record your virtual classes and upload them to your portfolio website. A well-conducted and successful yoga session video on your website is a compelling reason to get potential clients to sign up for your classes. Students can also learn independently and use these recorded sessions to practice. Students also marvel at Zoom yoga classes because they can practice in the comfort of their homes without the need to leave or commute to the yoga studio. If you want to do a Zoom yoga class with your students, you’ll find a detailed guide on how to do it and other tips in this post. Let’s dive into the details of doing a Zoom yoga class below.
How To Do a Zoom Yoga Class?
You must sign up for an account to hold a Zoom yoga class. You’ll also need to install the Zoom software on your computer instead of accessing the subsequent meetings through the browser. While it may be a good idea for your students to install the software, it’s unnecessary because they can join the meeting directly on the browser. Follow the below steps to do a Zoom yoga class.
Step #1: Create a Zoom Account
Zoom offers a free account that lets you host a 40-minute meeting with up to 100 participants. You can sign up for the pro plan to access unlimited meeting time and better features. Here are the steps to open a Zoom account:
Step #2: Schedule a New Meeting
Once you’ve signed up for a Zoom account, follow the below steps to schedule your yoga class:
Step #3: Invite Your Yoga Students
After scheduling the yoga class, invite your yoga students by sending them invitation links. Follow these steps to send the meeting invitation to participants:
Step #4: Test Your Virtual Studio
Before starting the yoga class, you must test your audio and internet connection. To test your internet connection, open use the speedtest.net website. Once you’ve confirmed your internet speed is okay, test the audio. Follow the below steps to test your Zoom audio:
Step #5: Start the Meeting
Open your yoga class ahead of time to prepare yourself psychologically and ensure everything is working correctly. To begin the meeting, follow the below steps: You’re all set to begin your Zoom yoga class.
Tips for Hosting a Zoom Yoga Class
Here are surefire tips to help you host a successful yoga class:
Streamline your tech set-up by investing in high-quality video conferencing equipment. These items include: An external webcam A wireless microphone Ring light Polish your verbal and non-verbal cues. Hosting a virtual class differs significantly from an in-person class. For this reason, you must bring your A-game to the virtual meeting by balancing your verbal and visual cues. You may also switch between speaker and gallery views to see how your students are doing their postures.
Wrapping Up
There you have it; that’s how you do a Zoom yoga class. To hold successful yoga classes, invest in high-quality video conferencing equipment, including a webcam, microphone, and artificial light. Additionally, balance your verbal and visual cues for students to have an in-person-like yoga experience.
